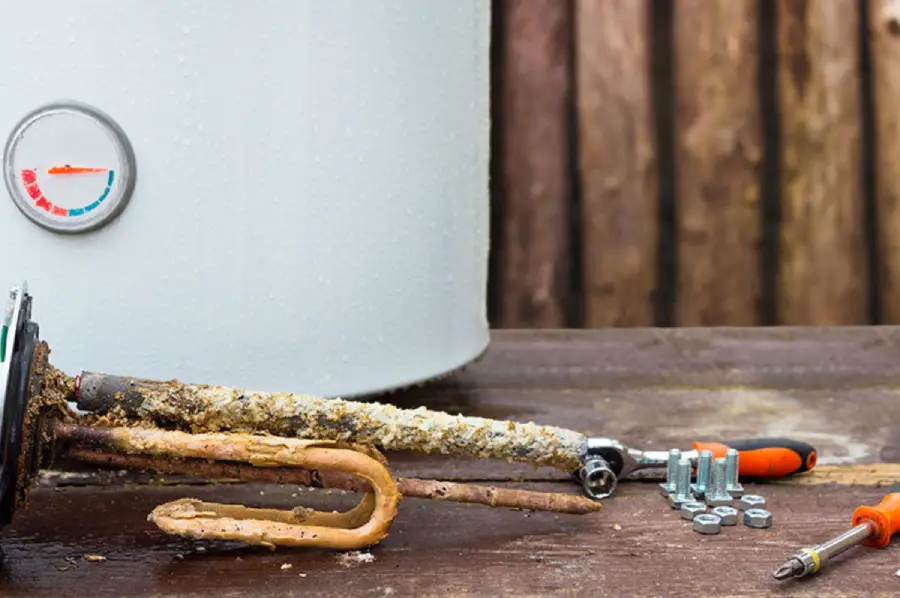
Water heater elements are vital components in electric water heaters, responsible for heating the water inside the tank. If your water heater is not producing enough hot water or none at all, a faulty element might be the issue. Checking the water heater element is a straightforward process that requires a multimeter and some basic safety precautions. Here is a complete guide on How to Check a Water Heater Element.
Preparing to Check the Element
Before beginning, ensure safety by turning off the power supply to the water heater. Locate your home’s circuit breaker and switch off the breaker that powers the water heater. For additional safety, use a voltage tester to confirm there is no electrical current running to the unit.
Next, locate the access panels on the side of the water heater. Most models have two panels—one for the upper element and one for the lower element. Use a screwdriver to remove the panels and expose the elements. Beneath the panels, you will find insulation and a plastic cover. Remove these to access the thermostat and heating element.
Testing the Water Heater Element
To test the element, you will need a multimeter. Set the multimeter to the lowest ohms setting, which is typically marked as “Ω.”
- Check the element for continuity:
Place one probe of the multimeter on one terminal of the heating element and the other probe on the second terminal. If the multimeter shows a reading between 10 and 30 ohms, the element is functioning correctly. A reading of “0” or “OL” (open line) indicates that the element is faulty and needs to be replaced. - Test for a grounded element:
Place one probe on one terminal of the element and the other probe on the metal tank of the water heater. Repeat this step with the other terminal. If the multimeter shows any reading other than “0,” the element is grounded and should be replaced.
Replacing a Faulty Element
If the element is faulty, it must be replaced. Begin by draining the water heater. Attach a hose to the drain valve at the bottom of the tank and direct the water to a suitable drainage area. Open the drain valve and allow the water to flow out.
Use an element wrench or a large socket wrench to remove the old element. Insert the new element into the opening and tighten it securely. Refill the tank by turning on the cold water supply and check for leaks around the new element.
Water heater drain valve leaking: Symptoms, reasons and solution
Reassembling and Testing
Once the new element is installed, replace the insulation and plastic covers, and secure the access panels. Turn the power back on at the circuit breaker. Wait a few hours for the water heater to heat the water and check if the issue is resolved.
Regular Maintenance
To prevent future issues, periodically check your water heater for sediment buildup, which can reduce the efficiency of the heating elements. Draining and flushing the tank annually can help maintain its performance and prolong the life of the elements.
By following these steps, you can effectively diagnose and address problems with your water heater elements, ensuring a steady supply of hot water in your home.
Related:
When Should You Insulate Your Water Heater and Other Pipes?
What are condensing tankless water heaters?

